Custom Webhook Alerts via REST API
Use our REST API to send custom notifications from any application, service, or platform using tools like Postman.
Prerequisites
- Notifico app installed on your device
- Postman app installed on your PC (or any HTTP client)
- Basic understanding of REST APIs
Setup Steps
Create a Custom Channel
In the Notifico app, go to Create Channel and select Channel Type as 'Custom'. This will give you a flexible endpoint for sending any type of notification.

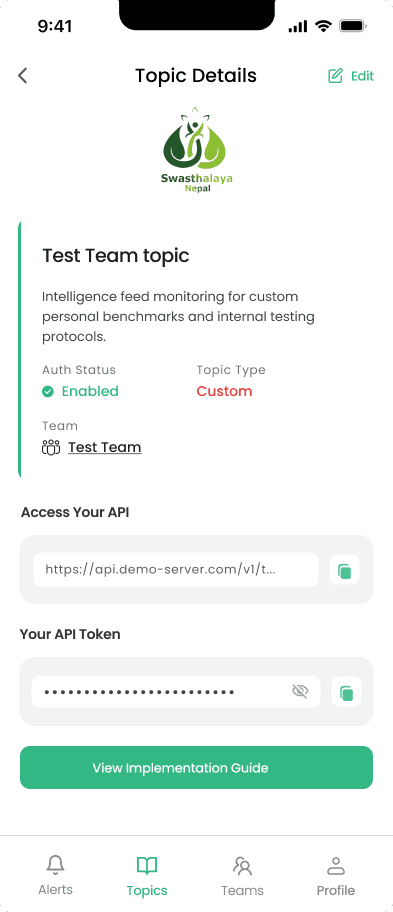
Copy API Credentials
Copy both the API URL and API Token from your channel. You'll use the URL as the endpoint and the token for authorization.
Open Postman
Download and install Postman if you haven't already. Click 'New' and select 'HTTP' to create a new request.
Configure the Request
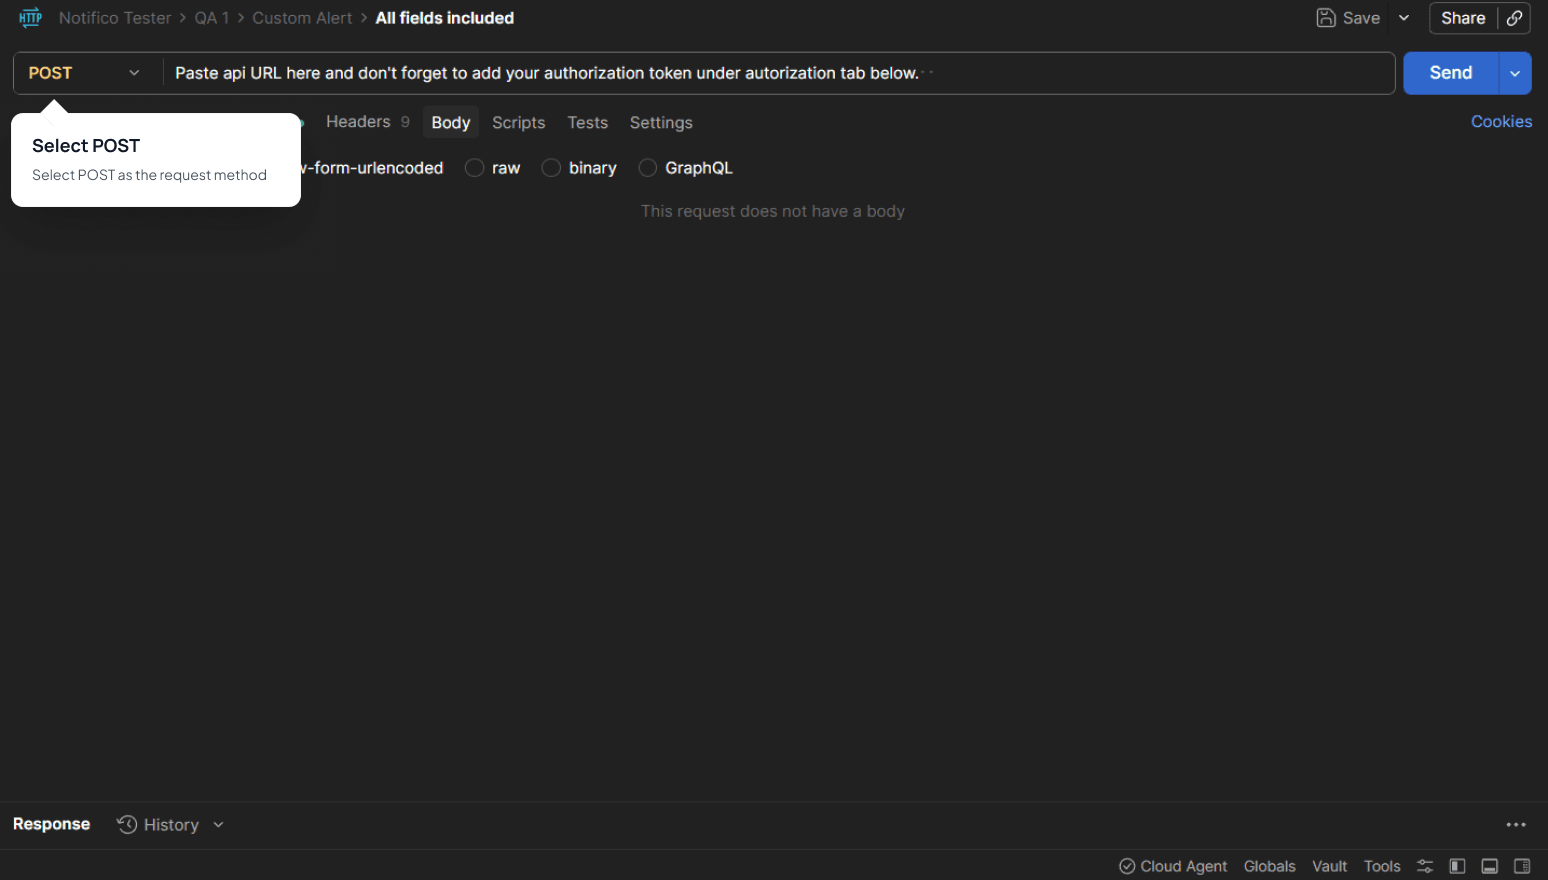
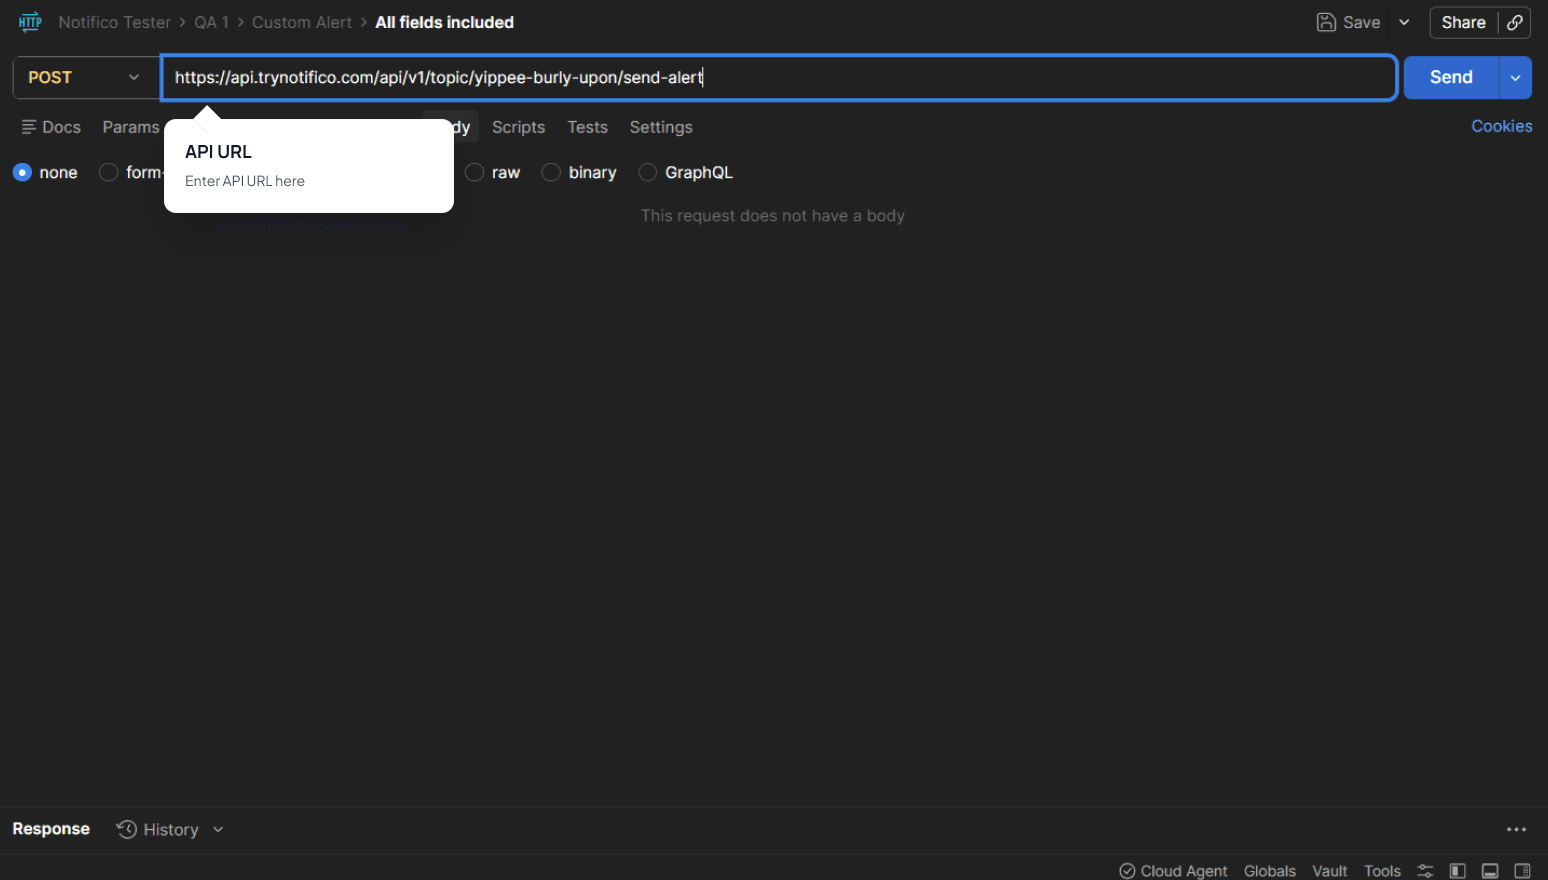
Set the request method to POST. Paste your API URL in the address bar.
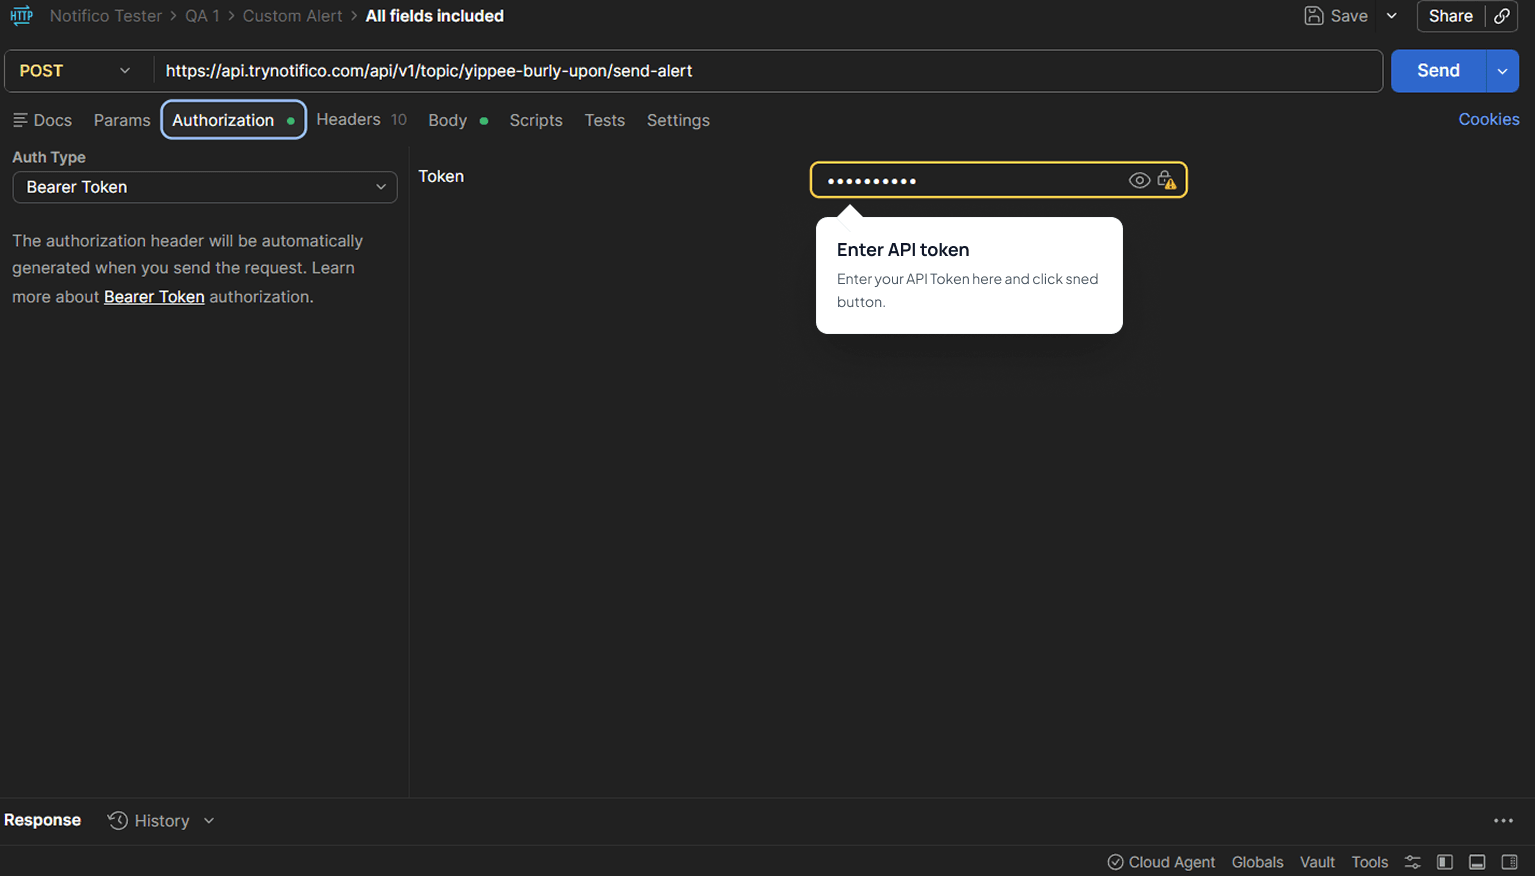
Configure the Authorization
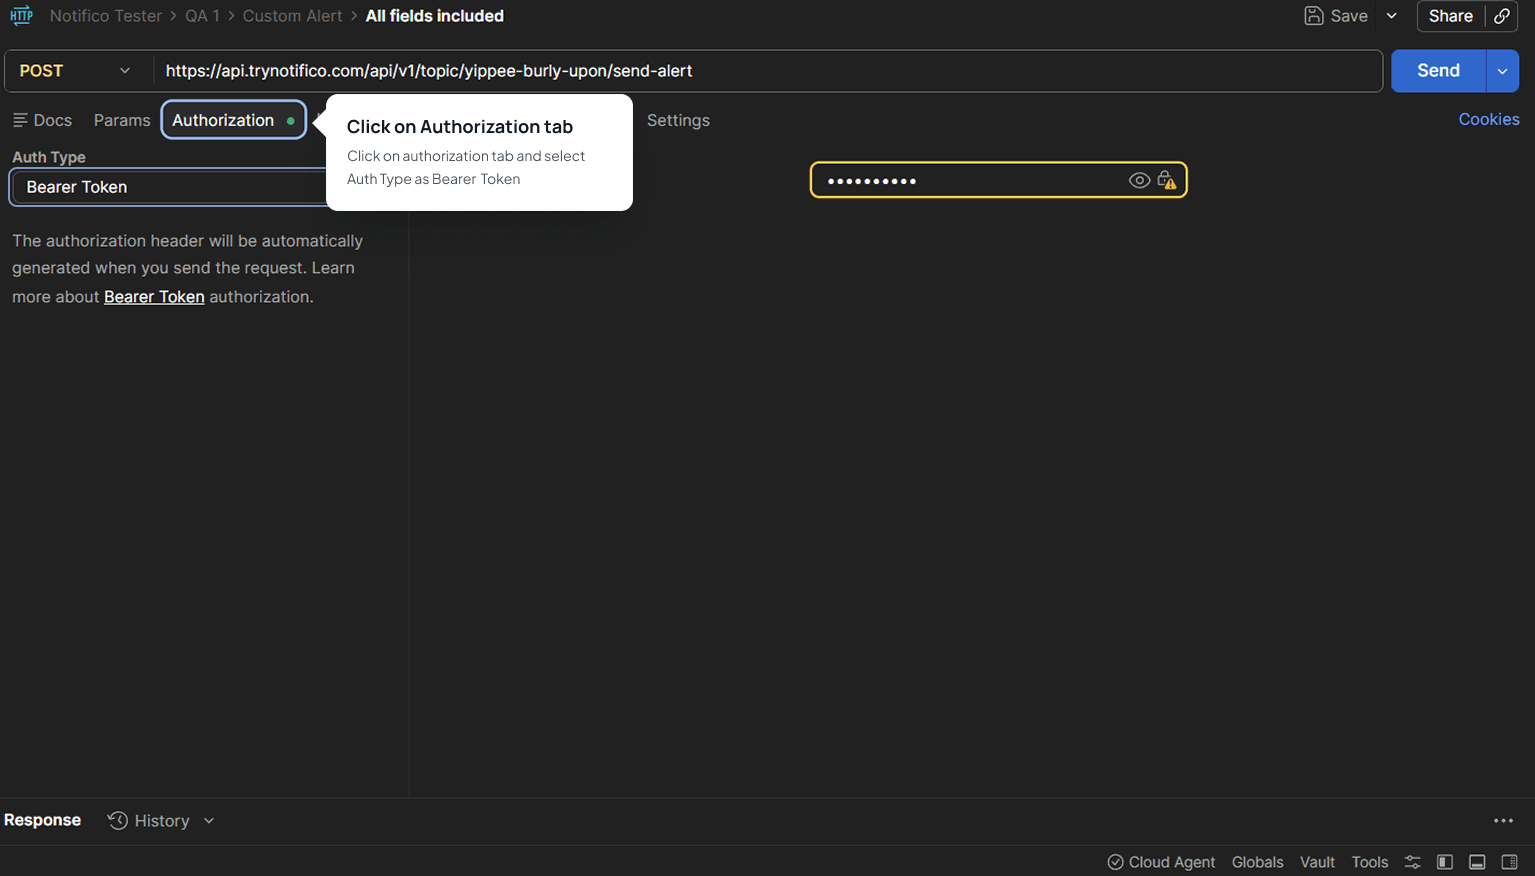
Go to the Authorization tab in Postman. Select 'Bearer Token' from the Type dropdown and paste your API Token in the token field.
Configure the Request Body
Go to the Body tab in Postman. Select 'raw' and then 'JSON' format. Paste your notification payload in the text area. Find the sample payload below for reference.
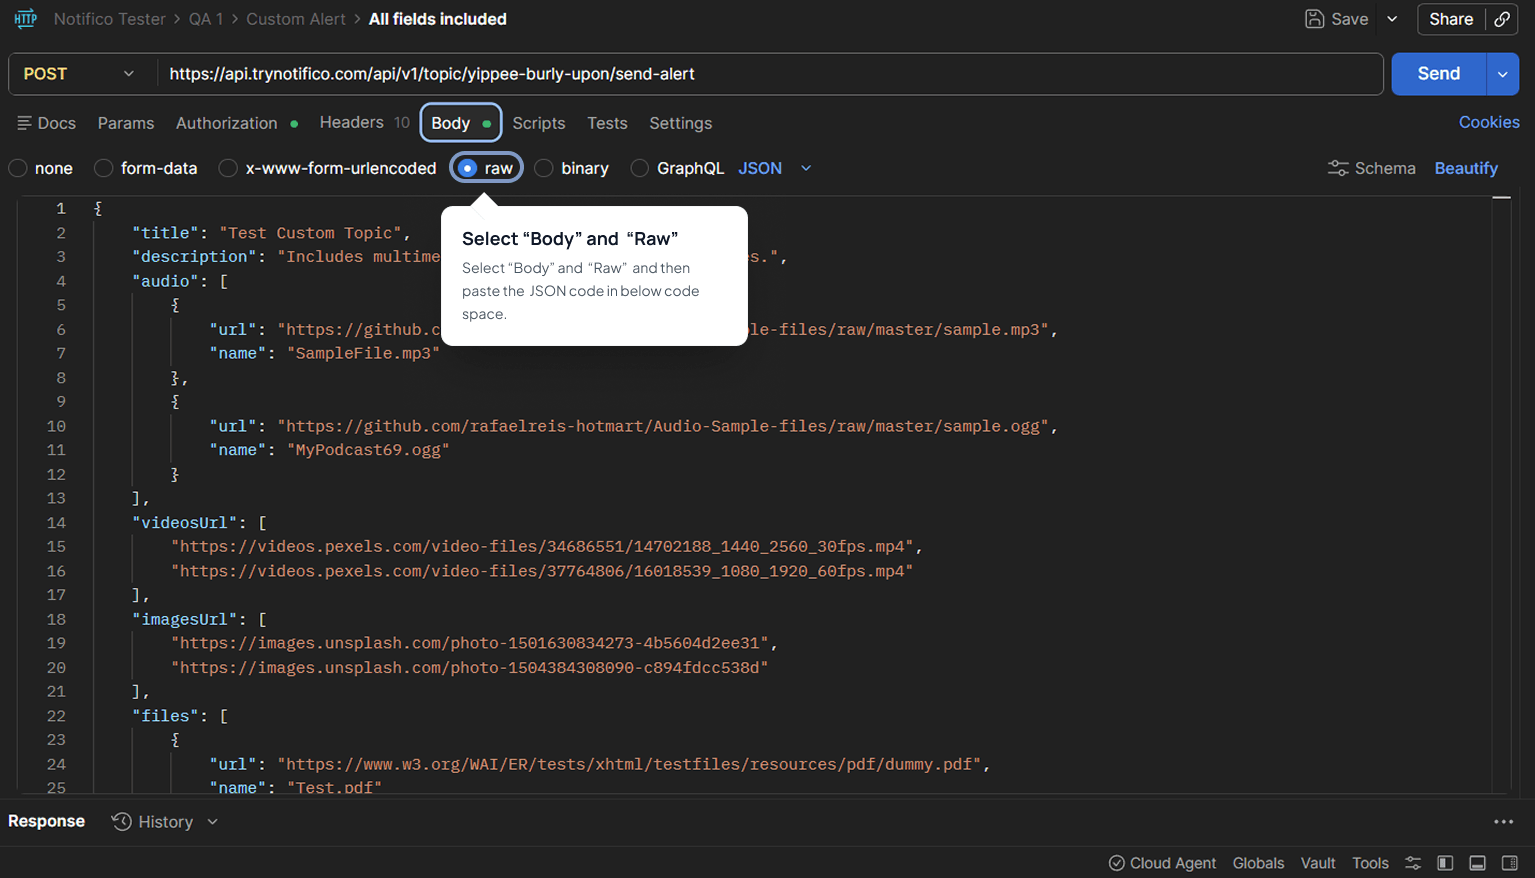
Sample Request Body
Use this JSON structure as a template for your notification payload. You can include any combination of media types.
{
    "title": "Test Custom Channel",
    "description": "Includes multimedia examples from various sources.",
    "audio": [
        {
            "url": "https://github.com/rafaelreis-hotmart/Audio-Sample-files/raw/master/sample.mp3",
            "name": "SampleFile.mp3"
        }
    ],
    "videosUrl": [
        "https://videos.pexels.com/video-files/34686551/14702188_1440_2560_30fps.mp4"
    ],
    "imagesUrl": [
        "https://images.unsplash.com/photo-1501630834273-4b5604d2ee31"
    ],
    "files": [
        {
            "url": "https://www.w3.org/WAI/ER/tests/xhtml/testfiles/resources/pdf/dummy.pdf",
            "name": "Test.pdf"
        }
    ],
    "htmlUrl": "https://www.weather.gov/safety/flood"
}Send the Request
Click the 'Send' button. If successful, you'll receive a '201 Created' status response. If you get any other status, check your credentials and payload format.


API Reference
| Field | Type | Description |
|---|---|---|
| title | string | The notification title (required) |
| description | string | The notification body text (optional) |
| audio | array | Array of audio files with url and name |
| videosUrl | array | Array of video URLs |
| imagesUrl | array | Array of image URLs |
| files | array | Array of files with url and name |
| htmlUrl | string | URL to an HTML page to embed |
💡 Pro Tips
- • All fields except title are optional — send only what you need
- • Use publicly accessible URLs for media files
- • A 201 status code confirms successful delivery
- • Ensure Content-Type header is set to application/json
Questions
- What fields are required in the request body?
- Only
titleis required. Description, audio, videosUrl, imagesUrl, files, and htmlUrl are all optional. - What status code confirms the alert was sent?
- A 201 Created status code confirms the notification was delivered to the Notifico app.
- What Content-Type header should I use?
- Set Content-Type to
application/json. - Running Shopify or WooCommerce instead of custom code?
- Use the plugin instead - see the Shopify guide or the WooCommerce guide.